Details about the method
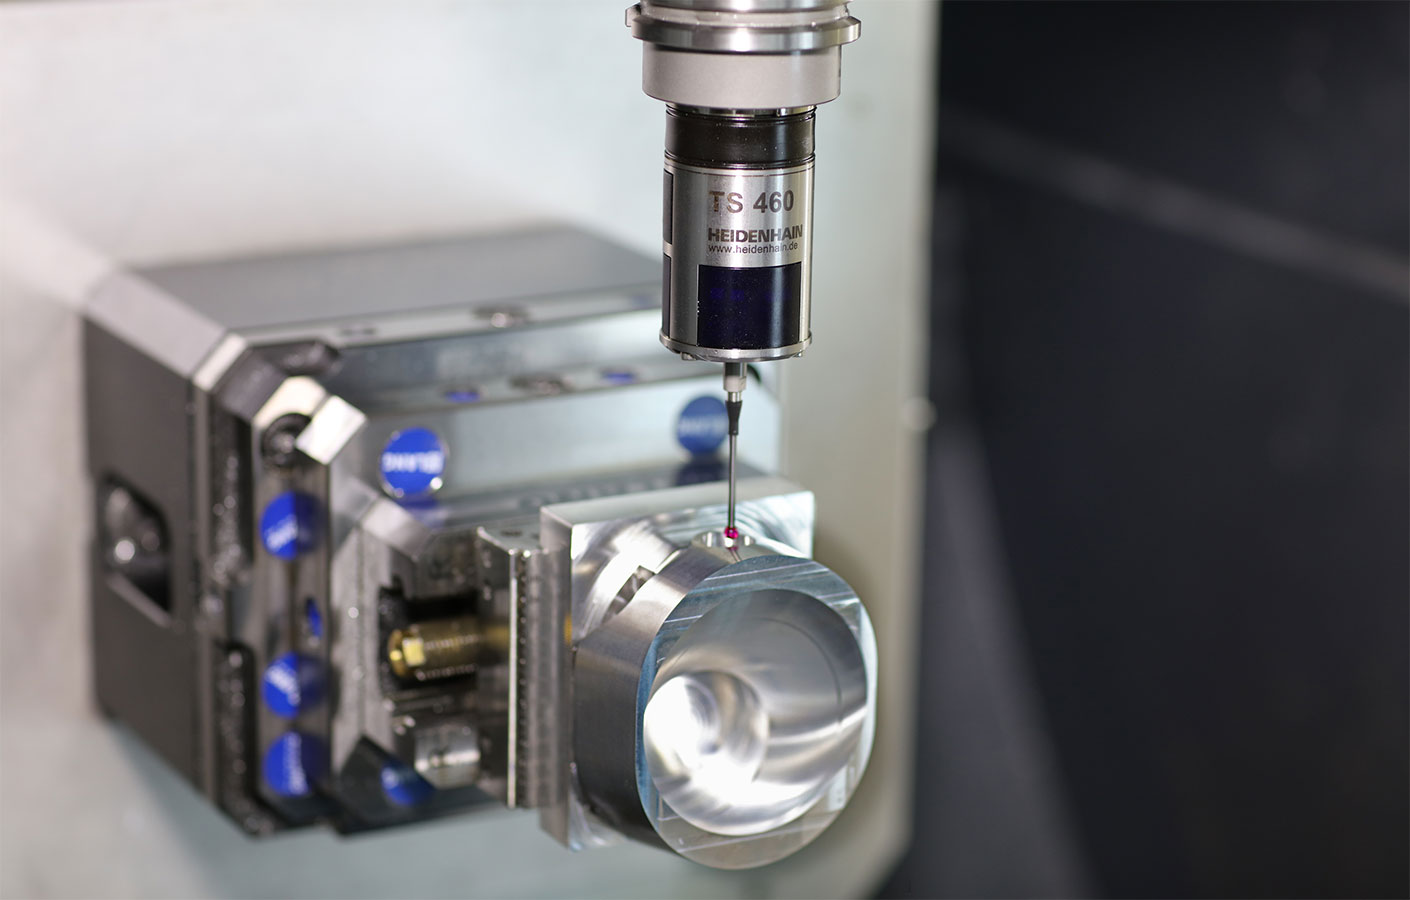
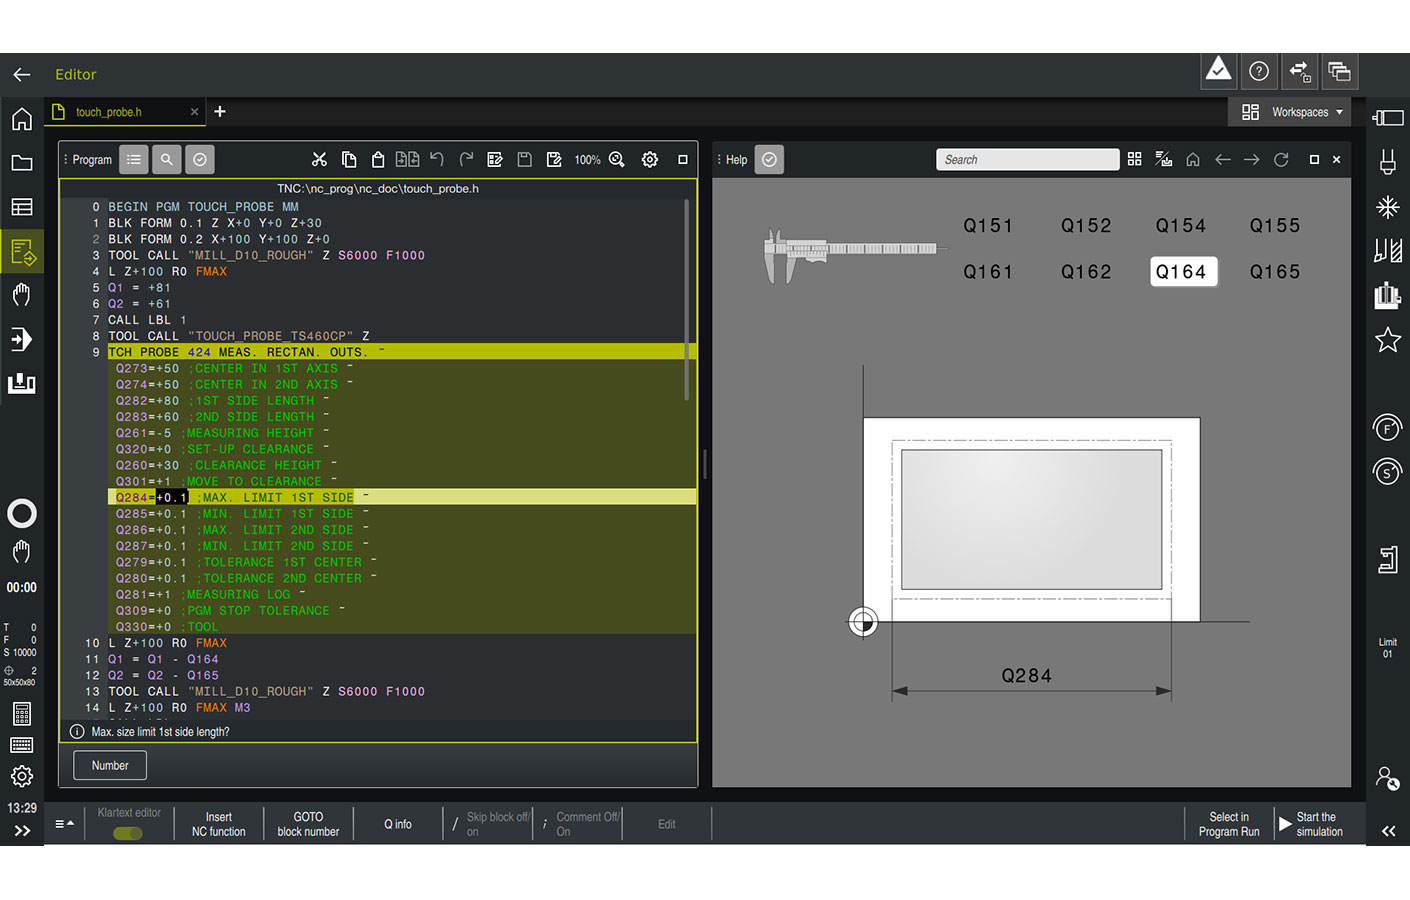
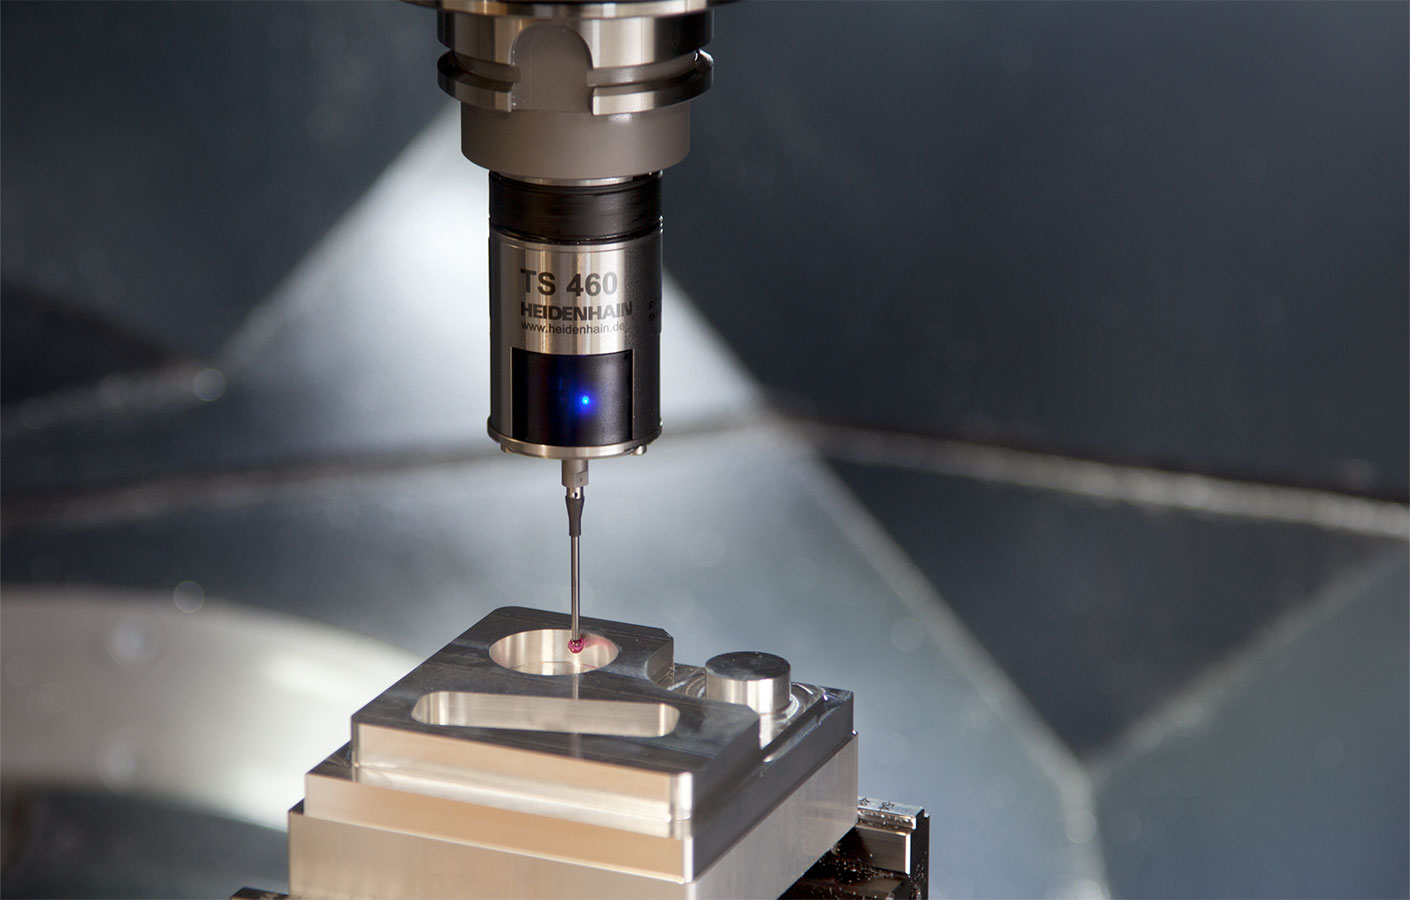
First the milled fit is measured with a touch probe. It is important that the fit is roughed and pre-finished (same finishing allowance as for the finishing the fit). Based on the values measured, the control corrects the tool compensation values in the tool table—meaning the oversize DR for the tool radius or DL for the length. The cutting pressure has already been accounted for in this compensation, since the actually machined workpiece was measured.
Now you call the tool again and the fit is completed. The control takes the compensation values previously determined into account. How is it ensured that this compensation is reliable? The recommendation here is to find an appropriate number of workpieces after which the touch-probe cycle is called again, e.g. after every fifth workpiece The program section with the touch-probe cycle is simply controlled by a counter, for example by incrementing in QR parameters. With each new measuring process the tool compensation values are adapted to the current situation.


